

Slewing Ring Bearing Installation
To successfully complete the installation of the Slewing Ring Bearing, you must strictly pick these four core links: high-precision surface treatment, clever positioning of “soft belt”, bolt torque according to rules, and precise gear backlash adjustment. Before hoisting, be sure to use a dial indicator to hit the flatness of the mounting surface, usually controlled between 0.05mm and 0.2mm (depending on the diameter), otherwise the raceway is easy to deform. When placing the bearing, the position of the soft belt with “S”mark or color point must be 90 degrees staggered from the main load direction, otherwise it will easily lead to early failure. Don’t save money when fixing, you must install brand-new 10.9-grade or 12.9-grade mounting bolts and torque them three times in diagonal star order-30%, 80% and finally 100, so that the clamping force is even. Finally, find the maximum eccentric point of the gear to adjust the meshing, and then through the grease nipple to hit the heavy-duty grease, until the grease from the seal ring evenly squeezed out. Turn around a few times without noise or Caton, this job is neat.
Step1: High-Precision Surface Treatment And Flatness Verification
The job of installing the slewing ring actually started before the bearing hit the machine. Don’t look at these big guys look heavy and thick, in fact their structure is flexible. If the mounting base is bumpy, the bolts will be tightened and the bearing will be twisted.
Tolerance control: The mounting surface must be machined to ensure smoothness. Depending on the bearing diameter, the flatness tolerance must be stuck between 0.05mm and 0.2mm. If it exceeds the standard, there will be tight spots in the raceway, resulting in a sharp increase in friction and accelerated wear.
Use a good dial indicator: it is absolutely impossible to look at it with your eyes alone. There are too many people who have suffered such losses at the scene. You have to take the calibrated dial gauge and make a full of circles along the mounting structure. Make a note of the data to make sure there are no local bumps or depressions.
Absolutely Clean: The mating surface must be clean and rust, debris, old paint or burrs must be removed. Sometimes a little residue that is invisible to the naked eye is like a fulcrum under a huge clamping force, directly deforming the top of the raceway.
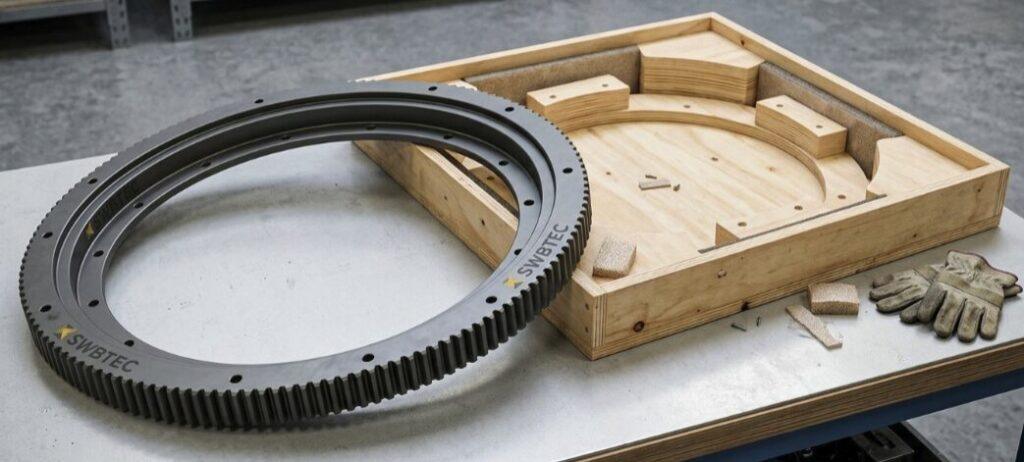
Single Row Ball Slewing Bearing
Single-row ball slewing bearings are divided into internal tooth, external tooth and toothless structure, which are suitable for a variety of transmission needs.
Double Row Ball Slewing Bearing
Double-row ball slewing bearings are specially designed for super-heavy load scenarios.
Slewing Bearing With External Gear
The external gear internal flange slewing bearing integrates the advantages of external gear transmission and internal flange mounting.
Slewing Bearing With Internal Gear
The internal tooth and external flange slewing bearing is characterized by the combination of internal tooth transmission.
Slewing Bearing Without Gear
Gearless double flange slewing bearing is light weight and compact.
Cross Roller Slewing Bearing
Single-row cross roller slewing bearing adopts roller cross layout, large contact area, can synchronously and efficiently withstand axial and radial loads and overturning moment,
Step2: “Soft Zone” Precise Positioning
Each slewing bearing has a special structural feature, called “soft belt”. In fact, it is the unquenched area where the balls or rollers are filled at the time of manufacture. Because it is not quenched, it has naturally become the most vulnerable weakness of the entire bearing.
Find out the soft belt: the manufacturer will usually mark this position clearly. The end face of the inner or outer ring is usually painted with the letter “S”, or painted with a specific color (usually red or blue), sometimes a blocked hole.
The 90-degree rule: When you are in place, the key comes: you have to put the soft belt in the area with the least force. Specifically, the soft belt must be strictly at an angle of 90 degrees to the main load direction (I. e., the axis of maximum overturning moment).
Prevent catastrophic failure: I ‘ve seen many novices muddleheaded and put the soft belt on the maximum load path. As a result, repeated high stress will cause direct deformation of the unquenched material, followed by peeling, complete scrapping of the raceway, and finally the shutdown.
Step3: Systematic Bolt Torque Application
Fixing the bearing to the base is not done with a wrench. Slewing bearing can not be stable, all rely on uniform clamping force.
Don’t be stingy with hardware: Never reuse old bolts. The fatigue of metals caused by previous use has long reduced their yield strength. Always remember to replace the new high-strength bolts-look for grade 10.9 or 12.9. The matching flat washer must also be of high hardness (never use an open spring washer, that stuff is useless here).
Star crossing sequence: In order to prevent the bearing ring from warping, the bolts must be crossed according to the “”star. If you try to save trouble and twist one by one along the circle, the deformed stress will be pushed to the front of the torque wrench like a wave, and the clearance inside the bearing will be directly lost.
Three-stage progressive method: with a calibrated torque wrench, honestly divide the torque into 3 stages:
- Stage 1(30%): Cross-screw to 30% of the final target torque to make the bearing seat evenly.
- Stage 2(80%): Continue to cross-beat and increase to 80% to establish a firm and uniform clamping force.
- Phase 3(100%): Last pass to 100% of the specified torque. After that, it is best to recheck all bolts times to prevent stay and leakage.
Step4: Accurate Gear Backlash Adjustment And Final Lubrication
In the last step, the main thing is to fix the alignment of the driving mechanism and put a “”protective cover”” on the internal components to prevent friction and dirt.
Find the maximum eccentric point: the gear on the slewing bearing is not absolutely perfect circle, it has the highest point of radial runout, that is, the maximum eccentric point. Manufacturers usually use green paint or engraved lines to mark them. Listen, you have to adjust the gear mesh and set the backlash at this specific point. If you adjust the backlash at the low point of the gear, when it goes to the high point, the pinion will definitely get stuck.
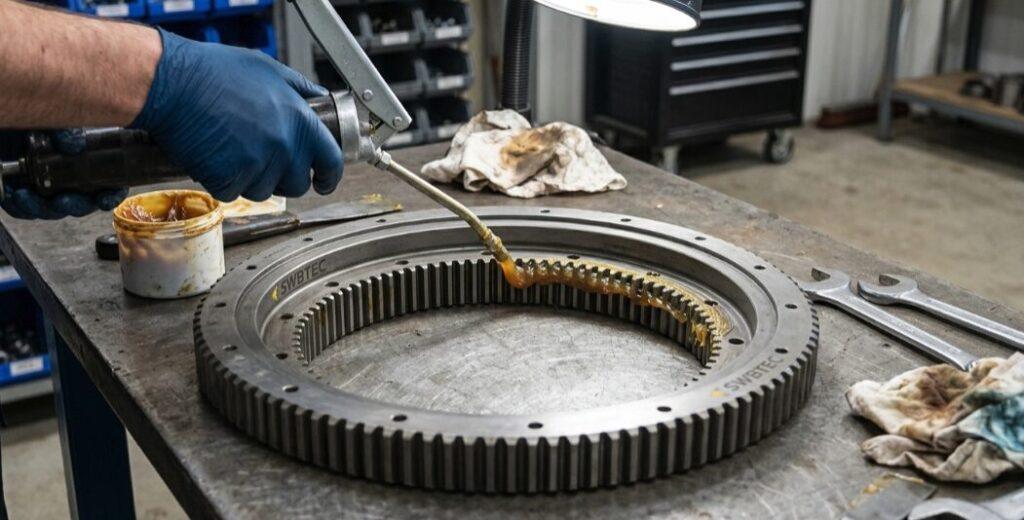
Heavy load lubrication: after the gears are aligned, find all the grease nipples. Rotate the bearing slowly while applying high-quality heavy-duty EP grease. Don’t worry about the oil, keep hitting until you see the grease squeeze out evenly from the whole ring of the one-piece seal ring. Extrusion this step is very important, it can confirm that the raceway has been completely filled, and by the way to build a waterproof and dustproof barrier.
Final trial rotation: after lubrication is completed, let the slewing bearing rotate completely for at least three 360 degrees. The rotation must be smooth, there must be no jamming, friction or strange vibration. Once there is any wrong movement, there is no other shortcut, honestly re-check the previous installation steps again.
Author: Mike Mars
With over 11 years of hands-on experience in heavy machinery maintenance, I’ve spent countless hours on-site dealing with slewing bearings. I’ve seen firsthand how a single installation mistake—like ignoring the “soft zone” or uneven bolt torque—can lead to catastrophic equipment failure.
